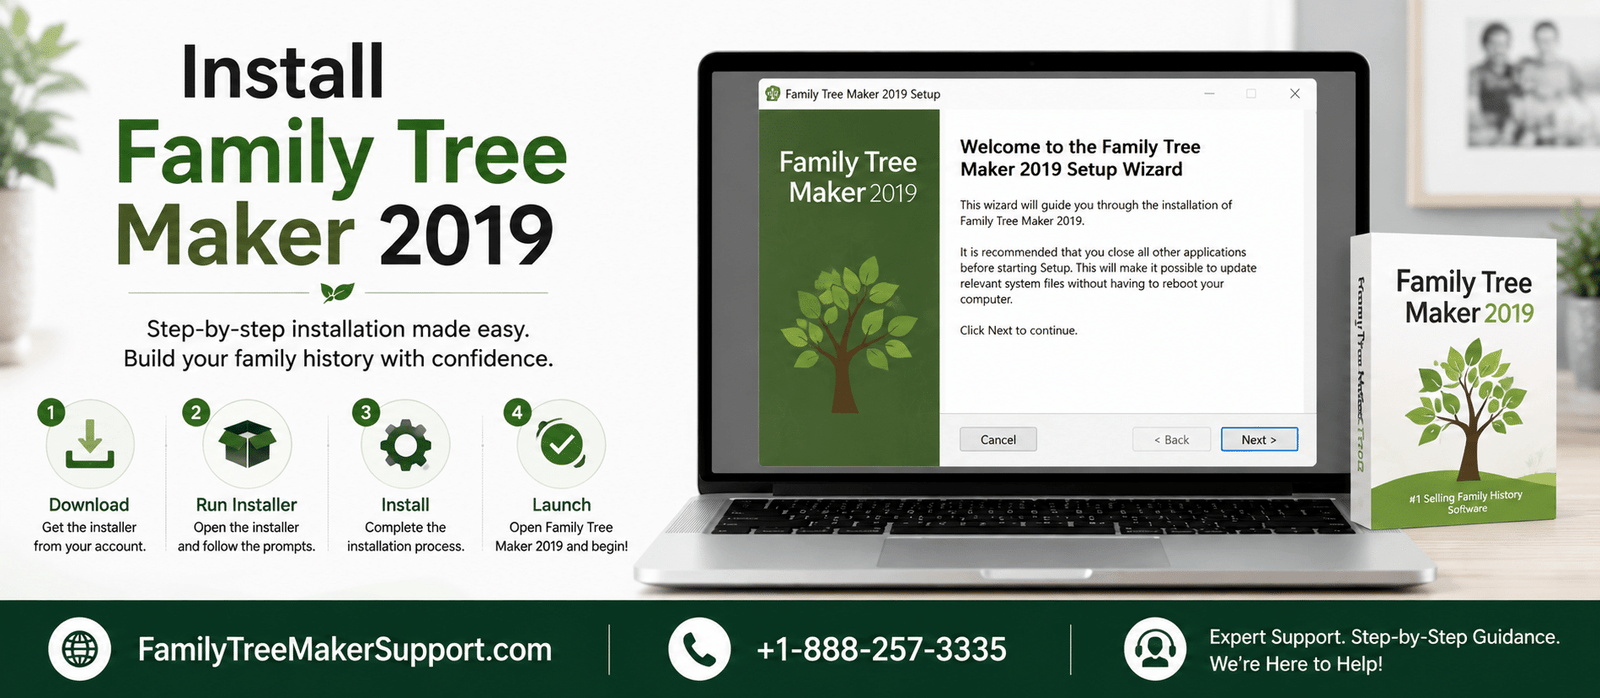
How to Install Family Tree Maker 2019?

Install Family tree maker 2019

It is very easy to install Family Tree Maker 2019 as it is one of the easiest methods if you follow the right steps. This is the first crucial step that you must take care of to build and manage your family history with utmost confidence. It will provide the support in enjoying the features without any kind of interruptions and maintain the required consistency throughout the process. Whether you are looking to install the FTM 2019 on Windows or Mac, this guide will take you through the installation process including checking the system requirement, completing setup and launching the application. 

Ideal System Requirements For Family Tree Maker 2019 

These are the system requirements which you must fulfill in order to install the Family Tree Maker 2019 properly in your system: 

System Requirements For Windows System Requirements For Mac
  • Operating System – Windows 7 or later including windows 11
  • Hard Disk- 900 MB available disk space 
  • Memory – 2 GB of RAM (4 GB recommended)
  • Display – 1024 x 768 resolution 
  • Operating system – macOS Yosemite (10.10) or later, including macOS Sequoia (15)
  • Hard Disk – 900 MB available disk space 
  • Memory – 2 GB of RAM (4 GB recommended)
  • Display – 1280 x 800 screen resolution

How To Install Family Tree Maker 2019 On Windows

Adhere to the below given steps to install the Family Tree Maker 2019 on windows. Go through all of them at once:  

  1. Get the Family Tree Maker 2019 installer from the download link that is provided to your purchase email, or just use the installation DVD/USB if it is available to you.
  2. Place the downloaded installation file and run it by clicking the .exe file twice.
  3. After the welcome screen appears, tap on Click to continue.
  4. Check the license agreement, accept the terms and click on next. 
  5. Choose the location where you want to install the Family Tree Maker. You can easily keep the default installation folder or click on change in order to select another location, then click on next. 
  6. Click on Install to proceed with the procedure of copying the program file to your computer.
  7. Let the installation process complete. The setup status window will showcase the installation progress.
  8. Once you have completed the installation, click on finish and close the installation wizard.
  9. Open Family Tree Maker 2019 with the support of desktop shortcut or just a start menu and complete any of the activation or sign in prompts, if needed. 

How To Install Family Tree Maker 2019 on macOS ?

With the below given steps you can easily Download the Family Tree Maker 2019 in mac: 

  1. Download the Family Tree Maker 2019 installer for macOS with the help of the link that is provided to you in your purchase email.
  2. After the download gets complete, click on the download installer file twice in order to begin the installation. 
  3. Follow the on screen instructions to complete the installation process. 
  4. After the installation is complete, launch the Family Tree Maker 2019 from the applications folder on the dock. 

Things To Remember Before Installing Family Tree Maker 2019 

Make sure you take care of the below mentioned points before installing the Family Tree Maker 2019. 

  • Check the compatibility of your Windows or macOS.
  • Make sure your computer has enough storage space
  • Keep a backup of your existing Family Tree Maker files
  • Download the latest Family Tree Maker 2019 installer
  • Do not forget to keep your activation key handy. 
  • Use a reliable internet connection for activation and updates.
  • Close all applications before running the installer.
  • Restart the computer to get the best installation experience.

Conclusion! 

After adhering to the right kind of preparation and installation steps, you can easily build a setup of Family Tree Maker 2019 on windows or macOS in order to enjoy hassle free performance. Ensure you are following the needed requirements, keeping your activation key handy and following the on screen instructions in a right manner. Once installation is complete, you are allowed to create, restore and carry on creating your family tree trouble free. 

Frequently Asked Questions!

Q. Is it important to have an activation key to install Family Tree Maker 2019?

A. Yes, you will require an activation key or product information in order to activate Family Tree Maker 2019 right after the installation is complete.

Q. Can I install Family Tree Maker 2019 on Windows 11?

A. Yes, Family Tree Maker 2019 is compatible with Windows 11, provided your computer meets the minimum system requirements.

Q. Is it necessary to have an internet connection to install Family Tree Maker 2019?

A. An internet connection is recommended to download the installer, activate the software, and install the updates. Even though an internet connection is required, the software can be used offline too after activation.

Q. Is it possible to import the old Family Tree Maker files after installation?

A. Yes, after the installation of Family Tree Maker 2019, you can easily open existing FTM tree files, restore backups (.FTMB), or import GEDCOM files in order to carry on your genealogy research.

Next of Kin Certificate on Family Tree Maker

Next of Kin Certificate

A Next of Kin Certificate is an important feature available through TreeVault that helps ensure your family history and genealogy research remain accessible to future generations. If you have spent years building your family tree in Family Tree Maker, preserving that information is essential. A Next of Kin Certificate allows you to designate a trusted family member who can take ownership of your TreeVault account and Family Tree Maker license when needed.

By creating a Next of Kin Certificate, you can ensure that your family records, photos, documents, and genealogy research are not lost and can be maintained by future generations. This feature is especially useful for individuals who want to preserve their family legacy and provide secure access to their family tree data.

What Is a Next of Kin Certificate?

A Next of Kin Certificate is a legally recognized document generated through TreeVault. It enables you to appoint one or more successors who can gain access to your TreeVault account and Family Tree Maker license in the future.

The certificate contains important information, including:

  • The name of your designated successor
  • An alternate successor (optional)
  • A unique TreeVault-generated access key
  • Instructions for accessing the TreeVault account
  • Rights to receive a copy of Family Tree Maker
  • Information required to preserve and manage the family tree

The purpose of a Next of Kin Certificate is to ensure that your genealogy work remains protected and available to the next generation.

Why Is a Next of Kin Certificate Important?

Many users spend years researching their family history and building detailed family trees. Without proper planning, valuable genealogy data may become inaccessible in the future.

A Next of Kin Certificate provides peace of mind by ensuring:

  • Long-term preservation of family history
  • Continued access to genealogy records
  • Protection of valuable family tree data
  • Easy transfer of TreeVault account ownership
  • Secure succession planning for digital family records

This makes the certificate an important tool for anyone using Family Tree Maker and TreeVault services.

How to Create a Next of Kin Certificate

Creating a Next of Kin Certificate is a straightforward process. Follow the steps below to designate your successor and secure your family history.

Step 1: Sign In to Your TreeVault Account

First, log in to your TreeVault account using your account credentials. Make sure your account is active and connected to your Family Tree Maker tree.

Step 2: Open the TreeVault Account Manager

  • Click the TreeVault icon located on the main toolbar.
  • You can also access it through the TreeVault Cloud Services panel found under the Current Tree section in the Plan workspace.
  • After opening TreeVault, select the Next of Kin option.

Step 3: Choose “Designate Successor”

Within the TreeVault Account Manager, navigate to the Next of Kin tab.

Click the Designate Successor button to begin the setup process.

Step 4: Enter the Primary Successor Information

In the Designated Successor section, enter the following details:

  • Full legal name
  • Relationship to you

Ensure that all information is accurate because it will appear on the generated certificate.

Step 5: Add an Alternate Successor

TreeVault also allows you to name an alternate successor.

This person will be able to take ownership of the account if the primary successor is unable or unavailable to do so.

Enter:

  • Full legal name
  • Relationship to you

Adding an alternate successor provides an additional layer of security for your family history records.

Step 6: Register the Successors

After entering all required information, click Register Successors.

TreeVault will securely store the designated successor information in its protected Next of Kin database.

At the same time, a PDF version of your Next of Kin Certificate will be automatically generated.

Step 7: Save or Print the Certificate

Once the certificate is generated, you can choose one of the following options:

Print Certificate

Select Print Certificate if you want a physical copy that can be:

  • Included with your will
  • Stored with important family documents
  • Shared directly with your designated successor

Save Certificate

Select Save Certificate if you prefer to:

  • Store the PDF on your computer
  • Keep a digital backup
  • Share the certificate electronically

Both options help ensure that your successor can access the information when necessary.

How to Change a Next of Kin Certificate

Life circumstances can change, and TreeVault makes it easy to update your designated successor.

To modify your Next of Kin Certificate:

  1. Open the TreeVault Account Manager.
  2. Go to the Next of Kin tab.
  3. Click Change Successors.
  4. Enter the updated successor information.
  5. Register the new details.
  6. Generate a new certificate.

This process replaces the previous successor information with your updated choices.

Benefits of a Next of Kin Certificate

There are several advantages to creating a Next of Kin Certificate, including:

  • Protecting years of genealogy research
  • Preserving family history for future generations
  • Providing secure account succession
  • Ensuring access to TreeVault services
  • Simplifying the transfer of Family Tree Maker ownership
  • Reducing the risk of losing valuable family records

For genealogy enthusiasts, this certificate serves as an essential part of long-term family history preservation.

Frequently Asked Questions

Question: What is a Next of Kin Certificate?

Answer: A Next of Kin Certificate is a document generated by TreeVault that allows you to designate a successor who can access and manage your TreeVault account and Family Tree Maker license.

Question: Can I name more than one successor?

Answer: Yes. TreeVault allows you to designate a primary successor and an alternate successor.

Question: Can I change my designated successor later?

Answer: Yes, you can update your successor information at any time through the TreeVault Account Manager.

Question: Is a Next of Kin Certificate necessary?

Answer: While not mandatory, it is highly recommended for users who want to ensure their family history and genealogy research remain accessible to future generations.

Conclusion

A Next of Kin Certificate is one of the best ways to protect your family history and genealogy research. By designating a trusted successor, you can ensure that your TreeVault account, Family Tree Maker license, and valuable family tree data remain available for future generations.

Creating a Next of Kin Certificate only takes a few minutes, but it provides long-term protection for the family legacy you have worked so hard to build. If you need assistance creating, updating, or managing your Next of Kin Certificate, you can contact Family Tree Maker support for additional guidance and help.

How to Fix Display Issues in Family Tree Maker for Windows (Complete Guide)

Fixing display issues in FTM

If you are facing display issues in Family Tree Maker on Windows, you are not alone. Many users experience problems such as blurry text, distorted graphics, or incorrect screen scaling. These issues can make it difficult to work on your family tree and affect your overall experience.

In most cases, these problems occur due to Windows display settings, especially DPI scaling, outdated drivers, or compatibility issues. Fortunately, you can fix these issues easily by following the correct troubleshooting steps.

Understanding Display Issues in Family Tree Maker

Windows provides a feature called display scaling (DPI scaling), which allows you to increase the size of text, icons, and interface elements. While this is useful for high-resolution screens, it can sometimes cause display problems in applications like Family Tree Maker.

Common display issues include:

  • Blurry or unclear text
  • Distorted images or charts
  • Incorrect scaling on high-resolution screens
  • Text or UI elements appearing too small or too large

Method 1: Disable DPI Scaling for Family Tree Maker

One of the most effective ways to fix display issues is by disabling DPI scaling.

Steps to Disable DPI Scaling:

  1. Locate the Family Tree Maker shortcut on your desktop, Start menu, or taskbar
  2. Right-click on the shortcut and select Properties
  3. In the Properties window, go to the Compatibility tab
  4. Check the option Disable display scaling on high DPI settings
  5. Click OK to save changes
  6. Restart the software

After restarting, check if the display issue has been resolved.

Method 2: Adjust Screen Resolution

Sometimes, incorrect screen resolution can cause scaling issues.

Steps:

  1. Right-click on your desktop
  2. Select Display Settings
  3. Scroll to the Resolution section
  4. Try a different resolution and check if the issue is fixed
  5. Revert to the original resolution if needed

Method 3: Update Graphics Drivers

Outdated or incompatible graphics drivers are a common cause of display problems.

Solution:

  • Visit your computer manufacturer’s website
  • Or go to your graphics card provider’s site (NVIDIA, AMD, Intel)
  • Download and install the latest drivers

Keeping drivers updated ensures better compatibility with software like Family Tree Maker.

Method 4: Run in Compatibility Mode

Running the software in compatibility mode can resolve many display-related issues.

Steps:

  1. Right-click on the Family Tree Maker shortcut
  2. Select Properties
  3. Go to the Compatibility tab
  4. Check Run this program in compatibility mode for
  5. Select an older Windows version (like Windows 7 or 8)
  6. Click Apply and then OK

Method 5: Update Family Tree Maker Software

Make sure you are using the latest version of Family Tree Maker 2019.

Why updates matter:

  • Fix bugs and display issues
  • Improve compatibility with Windows
  • Enhance performance

You can check for updates directly within the software or from the official website.

Method 6: Adjust Display Settings Inside FTM

Family Tree Maker also allows you to adjust display settings manually.

Steps:

  1. Open the software
  2. Go to Tools > Options
  3. Adjust font size and display preferences
  4. Apply changes and restart if required

Common Display Issues and Fixes

Blurry or Distorted Graphics

 Update graphics drivers and disable DPI scaling

Fonts and Text Not Displaying Properly

 Adjust font settings inside FTM and check display scaling

Scaling Problems on High-Resolution Screens

Change screen resolution and use compatibility mode

Tips to Avoid Display Issues

  • Always keep your software updated
  • Use recommended screen resolution
  • Avoid extreme scaling settings in Windows
  • Update system drivers regularly
  • Restart software after applying changes

Frequently Asked Questions (FAQs)

Q1. Why is my Family Tree Maker screen blurry?

This usually happens due to DPI scaling or outdated graphics drivers.

Q2. How do I fix scaling issues in FTM?

You can disable DPI scaling or adjust your display resolution.

Q3. Does updating FTM fix display issues?

Yes, updates often include bug fixes and compatibility improvements.

Q4. Can compatibility mode help fix display problems?

Yes, running the software in compatibility mode can resolve many issues.

Q5. Is this issue common in Windows?

Yes, especially on high-resolution displays with scaling enabled.

Conclusion

Display issues in Family Tree Maker for Windows can be frustrating, but they are easy to fix with the right steps. Whether it is DPI scaling, screen resolution, or outdated drivers, applying the solutions above will help you restore normal display functionality.

Regular updates and proper system settings will ensure a smooth and error-free experience while working on your family tree.

Need Help? We’re Here for You!

If you are still facing display issues in Family Tree Maker, feel free to visit our website, Family Tree Maker Support. You can also connect with our experts via live chat or call us at +1-888-257-3335.

We are independent support providers and not affiliated with Software MacKiev.