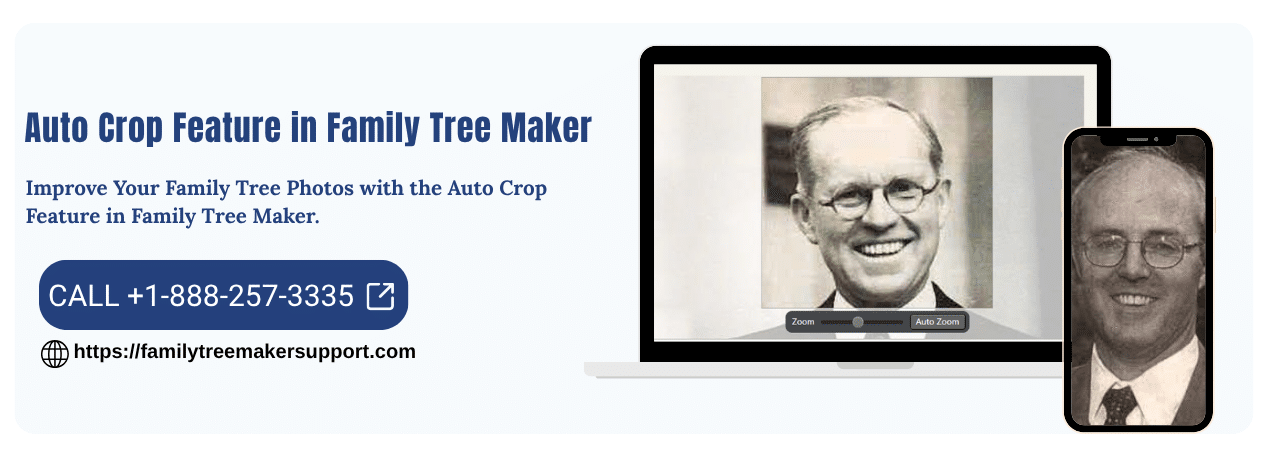
If you are new to the Auto Crop Feature in FTM, you’ll be happy to know it works as a helping hand for your tree by improving its appearance, relevance, and efficiency. Yes, this feature improves the visual appearance of important elements, including the tree, charts, and person workspace. You can use this to crop and adjust photos to create proper portrait images of individuals. It puts a major focus on the faces and supports easy zoom and crop adjustments. To get a better insight into this feature, keep reading to learn more.
What Is Auto Crop Feature in FTM?
The Auto Crop feature in FTM is one of the most efficient and easy-to-use tools, with the help of which you can easily center a face, adjust the right type of zoom level, form a uniform framing, and much more. Many users use this feature to get benefits like accurate face detection, consistent sizing, better composition, and more. This will not only save you time but also keep you away from unnecessary manual edits.
Benefits To Avail With Auto Crop?
As a user, you can avail many benefits with this feature. Here are some of them mentioned below:
- Protects Your Time
It automatically suggests the best zoom level and cropping area, so you don’t have to edit the photo manually.
- Saves The Originals
It crops the image around the faces for profile displays without disrupting your source photo file.
- Centers Subjects With Accuracy
Uses intelligent detection to keep the face properly aligned and focused within the profile window.
- Supports Manual Tweaking
Allows overriding of the auto suggestion with manual adjustment of the zoom slider or dragging the frame to perfection.
Enhances The Clarity Of The Tree Appearance
Creates uniform, polished profile pictures that make navigation easy.
Ideal Way To Use The Auto Crop Feature For Adding A Portrait
With the ways below, you can easily use the Auto Crop feature. Know how to do so:-
- Look for the people button on the main toolbar and click on it. Make sure you have selected the same individual on the Tree tab or Person tab that you want to add a portrait to.
- Within the editing panel, tap right on the person’s silhouette and do any of the following:-
- If the photo is there in your tree, click on Link to existing picture. The Find Media Items window appears. You can make changes from the tree’s media collection by choosing View Media from the drop-down, selecting a person, source, category, then clicking the image you want to select, and finally clicking OK.
- For adding a new image, click Add New Picture. Use the file management window to navigate to the image file you want to use. Then click on Open.
- If the image is new, choose whether to copy it to the media folder for your tree or link to it in the file. Now click on ok.
- From the Edit Profile Picture, tap the Auto Zoom button for the Family Tree Maker. It will automatically suggest the zoom level and the cropping area for the portrait.
- If you need to adjust the crop area or zoom level manually, drag the photo to center the person and use the zoom slider.
- Finally, tap on ok.
What Do You Need To Know Before You Use It?
Before proceeding to use the feature, here are some of the important things that you must look at to use it properly:
- Safety Of The Original Photo
Ensure the software’s facial recognition crops only the face without permanently altering or overwriting the source image file.
- Proper Image Orientation
Know whether the photo is right side up or not, because the built-in rotation tools are limited by the version of Family Tree Maker, prompting you to rotate the image sideways beforehand.
- Correct Face Framing
Check the automated facial detection to ensure the chin, top of the head, and ears are cut properly, as per the suggested zoom level.
- Manual Adjustment Is Required
Even if you use the feature, be prepared to use the manual zoom slider and drag the tools to bring in the fineness if the auto-suggestion misses the right portrait balance.
- Backup The Database
Make a complete backup of your tree right before running bulk media updates or edits to prevent accidental data loss.
Conclusion!
Bringing the Auto Crop feature into use benefits you in several ways. From its interface to its benefits, everything works in your favor and elevates your tree’s performance. Whether it’s ‘]]`yvcxzclean portraits, perfect zoom levels, or the right manual fit, you’ll get it all with this amazing Auto Crop Feature in FTM . If you’ve been working on your Family Tree for a long time, make good use of this feature and bring the right changes.
For more information please do contact us.
Andy Smith is a genealogy researcher and family history specialist with over 10 years of experience in family tree research, ancestry records, and genealogy software. He specializes in Family Tree Maker, Legacy Family Tree, Ancestry, FamilySearch, and DNA-based family history research, helping users preserve and organize their family heritage.