To make a TreeVault Account, you are required to follow the steps mentioned. Go through all of them at once:-
- At step 2 of the Family Tree Maker registration wizard, which appears when you open Family Tree Maker for the first time right after installation, click the Create Account Button.
- In Family Tree Maker, select Connect to TreeVault Cloud Services from the Help Menu in Windows. After that, click the Create Account link in the dialog that appears on the screen.
- In the Family Tree Maker, tap on the TreeVault icon on the main toolbar or in the TreeVault Cloud Services under the current tree tab of the plan workspace, and then tap on log in. after it click on the create account link in the dialog which will pop up in front of you.
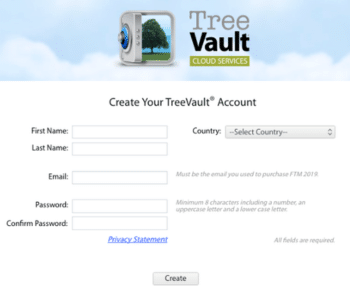
For each of the case mentioned above, follow the below given steps:
- Enter your information into the fields, and keep in mind that all the fields are essential.
| Note: Keep the email address that you are mentioning and the one you used while obtaining a TreeVault subscription the same. If you want to change the email address, you can do so in the TreeVault account manager. |
- Tap on Create.
- For creating a TreeVault account, you should agree to the TreeVault Service terms and conditions by selecting the corresponding checkbox provided at the bottom of the page.
- For FTM 2019 and FTM 2024, select the TreeVault icon which you can find on the main toolbar and in the Treevault Cloud services panel right under the current tree tab available in the plan workspace and then click on log in.
- Launch the log in to TreeVault window, fill the email address and the password that is provided to you while completing step 1, and then tap on log in.
How To Create a TreeVault Account In Family Tree Maker?
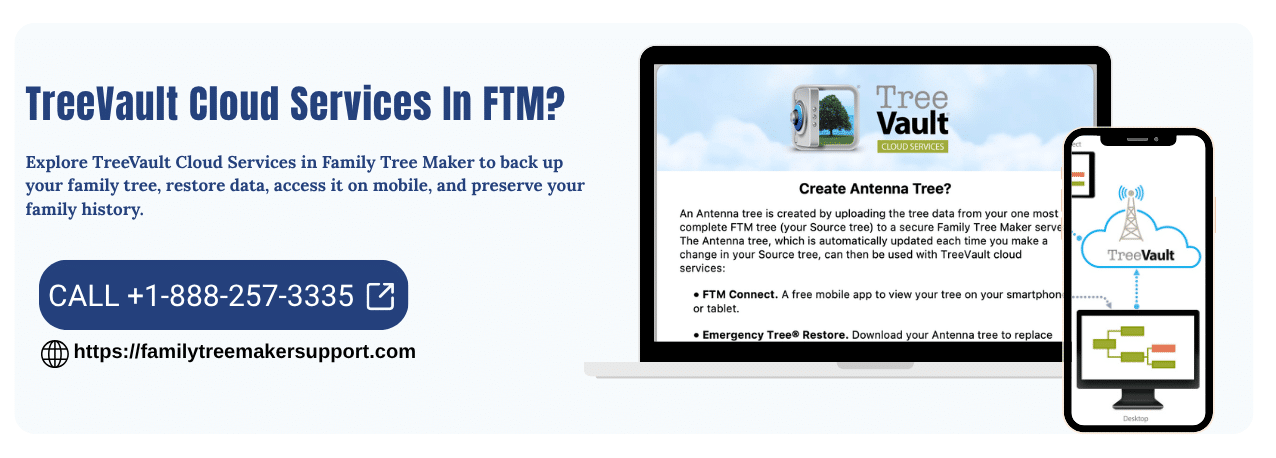
Once you successfully logged into TreeVault and have opened the tree for the first time, you will be asked to create a TreeVault Antenna Tree. The procedure differs for Mac and Windows. Here are some of the steps mention below on how you can create the tree for both kinds of systems:
For Mac
- Open the tree that you want to be the source tree in Family Tree Maker.
- If you have completed the procedure to log in to TreeVault, skip step 4. If you haven’t, click the TreeVault icon from the main toolbar or in the TreeVault cloud services panel available on the current tree tab on the plan workspace, and then tap on Log in.
- Enter the email address and password that were provided to you when creating your TreeVault account, and then click on Log in.
- Tap on the TreeVault icon and select Create Antenna Tree from the pop-up menu.
- In the message that will be shown on your screen, click on Create Antenna Tree.
- Now, in the message that appears next, click on Close.
For Windows
- Launch the tree that you want to have as your source tree from Family Tree Maker.
- If you have already logged in to TreeVault, skip to step 4. If you have not, click the Treevault account icon in the main toolbar or in the TreeVault cloud services panel on the current tree tab in the plan workspace, then click Log in.
- Enter the email address and password that you provided while creating your TreeVault account, and then click on Log in.
- Tap on the TreeVault icon and choose Create Antenna Tree from the drop-down list.
- From the message that appears, click on Create Antenna Tree.
- In the message that appears next, tap on Close.
Conclusion
Creating a TreeVault account is a straightforward process once you know where to find the required options in Family Tree Maker. After creating your account and signing in, you can create an Antenna Tree from your Source Tree on either Mac or Windows. Following the steps carefully will help you connect Family Tree Maker with TreeVault and keep your family tree ready for cloud services and future use.
For more information please do contact us.
Andy Smith is a genealogy researcher and family history specialist with over 10 years of experience in family tree research, ancestry records, and genealogy software. He specializes in Family Tree Maker, Legacy Family Tree, Ancestry, FamilySearch, and DNA-based family history research, helping users preserve and organize their family heritage.